
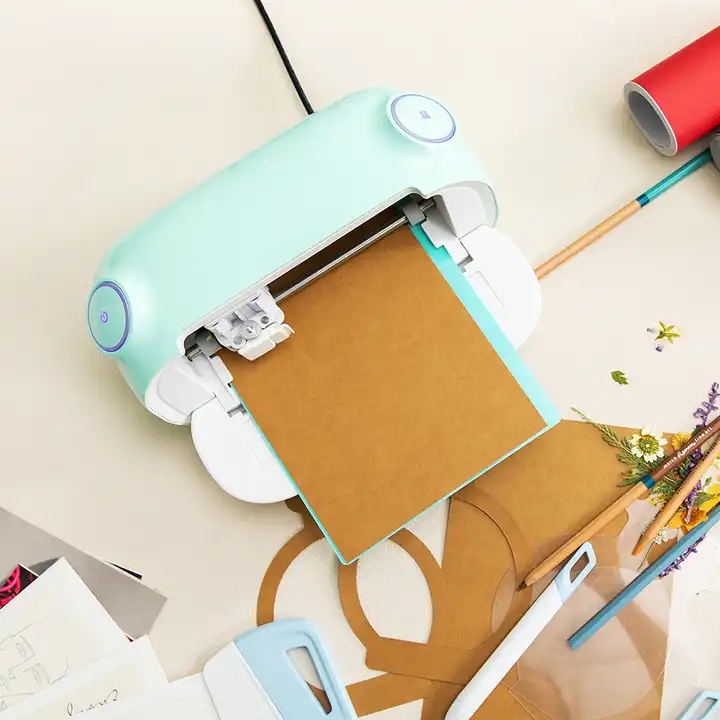

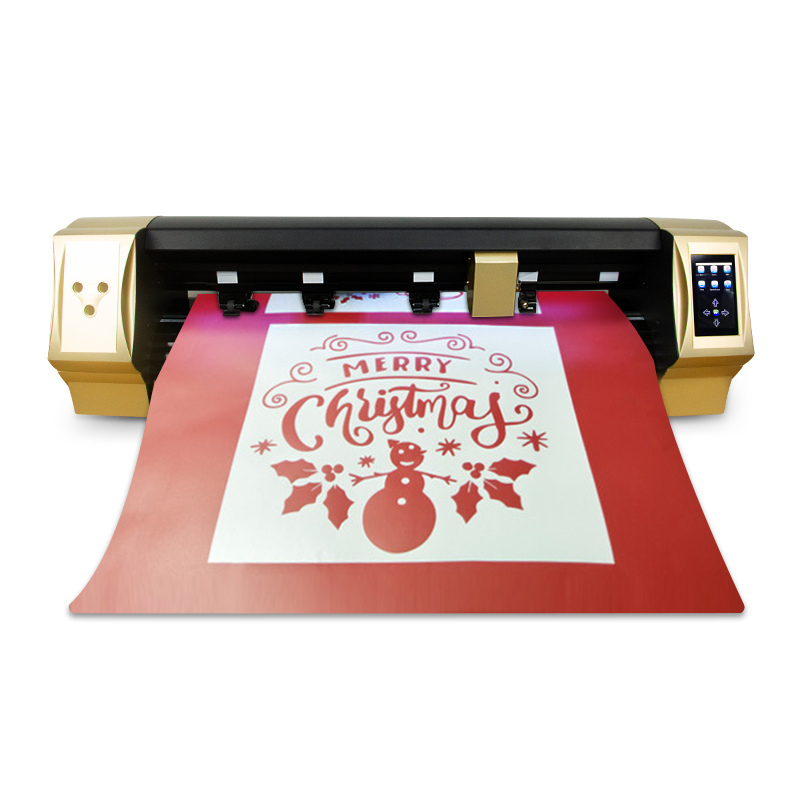

MOMO is well known by many names, like cutting plotter or vinyl cutter. It is called vinyl cutter because of its popular was used among productions involving vinyl transfer films. However, the MOMO plotter used for many other types of paper like sticker papers, or magnetic papers, 3M reflective film, transparent and more.
1, Create your artwork
You will need to create artwork on our computer using designing software such as Adobe Illustrator or Corel Draw.
2, Bring your artwork into a vinyl cutter cutting program
Once you have created artwork in a software Adobe Illustrator, Corel Draw, you will need to import it into a vinyl cutter software. There are several vinyl cutter software available on the market. The most common is MOMO SignMaster, followed by software like SignCut and Flexi 12. These software will lay out your artwork on your vinyl, create weeding lines, create a weeding frame or box, allow you to make copies in rows and columns, scale and rotate, layer the cuts and do several other functions and finally, send the cutting commands to the vinyl cutter.
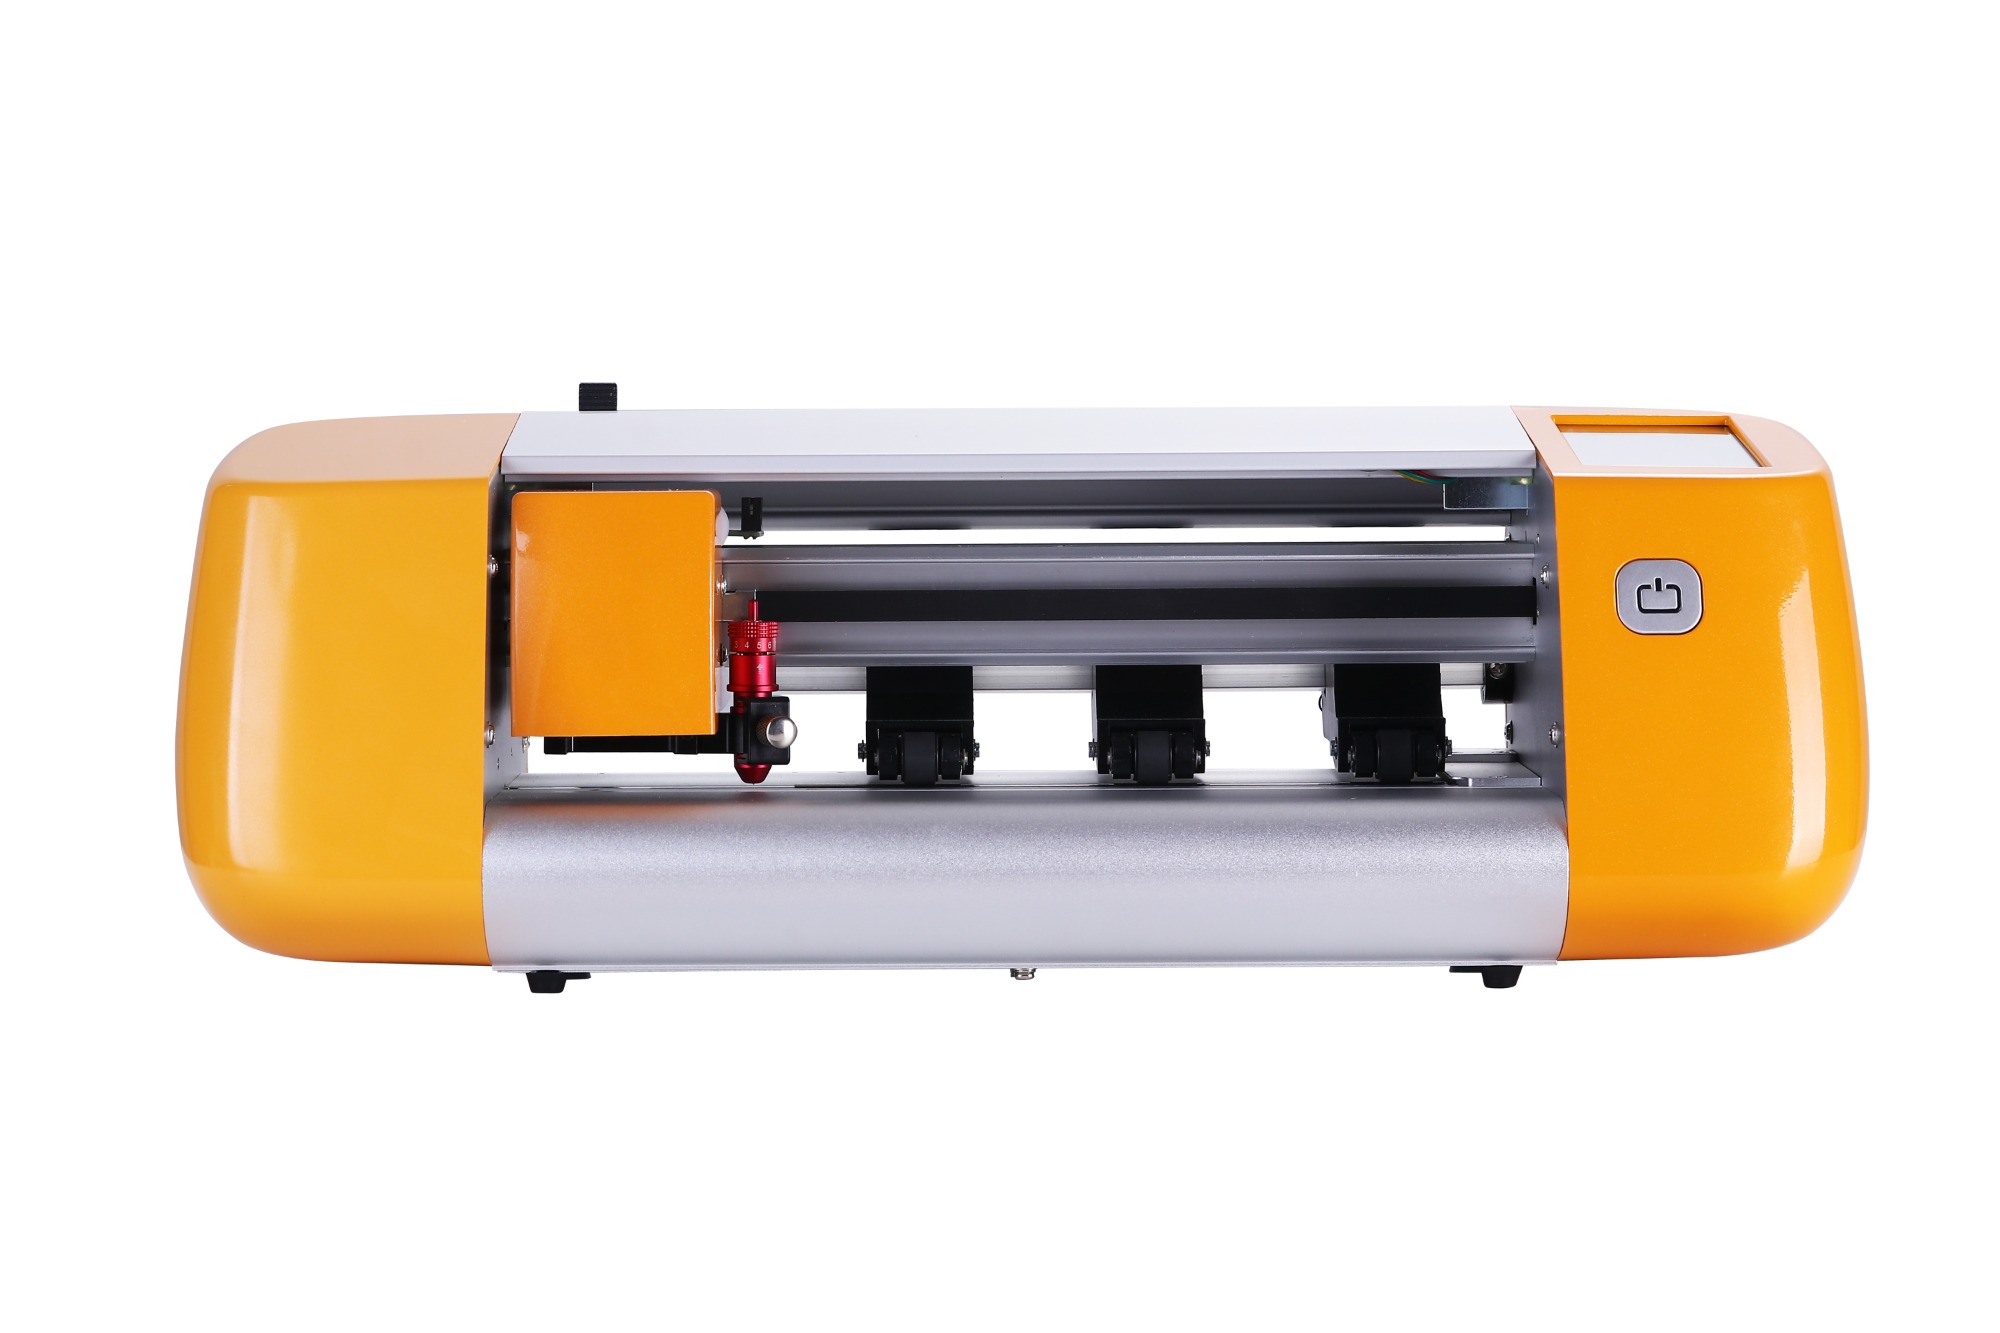
3, Connect up your Laser Cutter&Vinyl Cutter
MOMO vinyl cutters have various methods to connect up to your computer, like USB Port(No driver), WIFI, U disk(offline work). App. Once you have established the connection between your cutter and your computer (Drivers not need to be installed) you will need to choose the port or the specific cutter in the sign cutting software to establish the connection between your vinyl cutter and the software.
TIP: The vinyl cutting industry is not very Mac friendly. There are systems that are Mac compatible like MOMO SignMaster, SignCut, Flexi. Make sure that your cutter is in the online mode and that the cutter and correct port are selected in the cutting software. This is very important to establish proper communication.

4,Load your material
Pls put wood on cut mat firstly. Secondly, turn on laser to point original point on touch screen. Thirdly, choose to use Laser or Blade as you need. You can freely adjust settings during working time.
Tips: When use Laser,FS=Power. When use blade,FS=Pressure.
5, Laser Carving your artwork
Use the cutting feature of your sign cutting software to send your artwork to the vinyl cutter. Laser carving your artwork can take as little as a few seconds.
6, Remove your Laser carving wood
Setting on touch screen to release the rollers and pull your wood forward.
7, Celebrate! You are done!
What’s more, this advanced laser engraver support laser carving and cutting vinyl, and how to do that as below,
a, Set to use blade
Pls choose to use blade on touch screen of MOMO vinyl cutter,
b, Select and setup your blade
Blades usually come in angles from 20° to 60° or so. The larger the blade angle the sharper the blade but the quicker the blade will dull. 45° blades strike a good balance between wear and sharpness. 60° blades are sharper and seem to be more widely used. Setting up blade depth and pressure or force is critical to getting good cuts. There are basically two parameters that need to be set to achieve good cutting. One is blade depth relative to the carriage and the other is pressure set by the cutter. These parameters vary in importance between machine manufacturers.
A good way to set blade tip height is to peel off the vinyl and expose the vinyl backing. Place the blade holder in the down position. MOMO cutting plotter have full touch screen that will allow you to automatically push the carriage to the blade down position while for other carriages you will need to push down on the blade holder manually. Fasten the blade position so that the tip of the blade is slightly penetrating the top surface of the vinyl backing.
From here, you will need to set the pressure. Create a small line of text that you can send to the cutter. Set the pressure at a low level and send a cut to the cutter. Chances are that you will not cut fully through the vinyl. Increase the pressure by an increment of your choosing, move the carriage over and cut this same text again. Continue to do this and remember the pressure setting for each cut until you are penetrating the vinyl backing but not going through it. Now weed all the text you have cut. The one that weeds the best and leaves a slight impression on the vinyl backing is the optimized setting for this vinyl. This process of setting blade tip depth and pressure may need to be repeated each time you change vinyl type as the release liner thicknesses and vinyl characteristics will change from roll to roll and may require different tip depths or cutting pressures. Usually, once a cutter is setup for vinyl like MOMO you can cut that roll and additional rolls as long as it is all the same type of MOMO Vinyl.
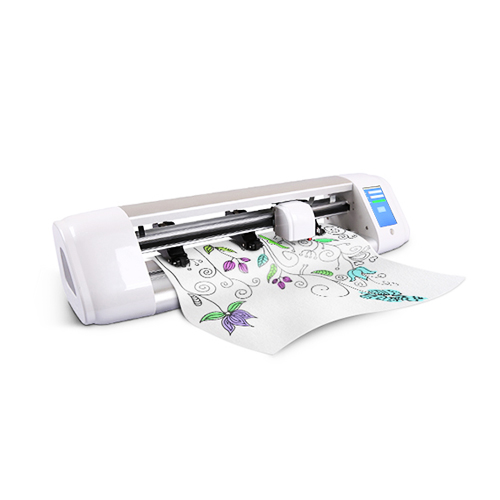
c,Cut your artwork
Use the cutting feature of your sign cutting software to send your artwork to the vinyl cutter. Cutting your artwork can take as little as a few seconds to several hours depending on complexity. Most simple signs and decals take just a few minutes.
d, Remove your cut vinyl
Advance the vinyl roll with the cutter control panel or release the rollers and pull your vinyl forward. Use rolling scissors to trim your vinyl from the base roll.
e,Weed your vinyl
Assuming you did a good job setting up your cutter your artwork should weed relatively easily. Weeding is the process of removing material that you don't want in your graphics. The smaller the features in your graphic, the more challenging weeding can become. Use a weeding pick to carefully pull up and remove the portions of vinyl that you don't want to transfer to your target surface. Strategically placed weeding lines are recommended to make this process easier. It is sometimes very difficult to weed all your unwanted material if it is all connected in one piece. This is also sometimes a time consuming and delicate process.
f, Apply transfer tape
With your image weeded, the next step to take will be to transfer your image from the release liner to the target surface.
TIP: If you are applying your image to the inside of glass make sure to cut the mirror image so it appears correct when viewed from the outside of the glass.
Transfer tape is similar to masking tape but has a different tack for adhering to your vinyl but releasing it on the target surface. Use a semi-transparent transfer tape such as this to apply your graphics. Transfer tape comes in many widths up to about 48". If you have an image that is 6" tall but only have transfer tape that is 4" wide you can lay multiple strips down to cover your image completely and overlap the transfer tape by ¼" or so. You will want to use your squeegee with a felt sleeve to rub the transfer tape on the vinyl to insure good adhesion.
g,Prep target surface
Your target surface should be prepared by cleaning with rubbing alcohol or other similar cleaner to remove grease, oil and dirt. In addition, the surface can be prepared with an application liquid spray such as ClearStar Splash that will allow the vinyl to not immediately stick to the target surface. This will allow you to reposition the graphic on the target surface before allowing it to dry and permanently adhere and remove air bubbles. This saves lots of time and avoids having to redo the job.
h, Apply your graphics
Peel the transfer tape away from the release liner and your graphics should come with your transfer tape. If they don't, push the transfer tape back down and use your squeegee again to stick the transfer tape to the decal. Take this decal and apply it to the target surface. From there, use your squeegee with a felt sleeve to smooth your decal on your target surface removing all air bubbles. Allow to dry if you applied application liquid and then peel off your transfer tape.
i, Celebrate! You are done!
信息
如果您对我们有任何建议或疑问,请与我们联系。